


 Back to Blog
1. Applicable products
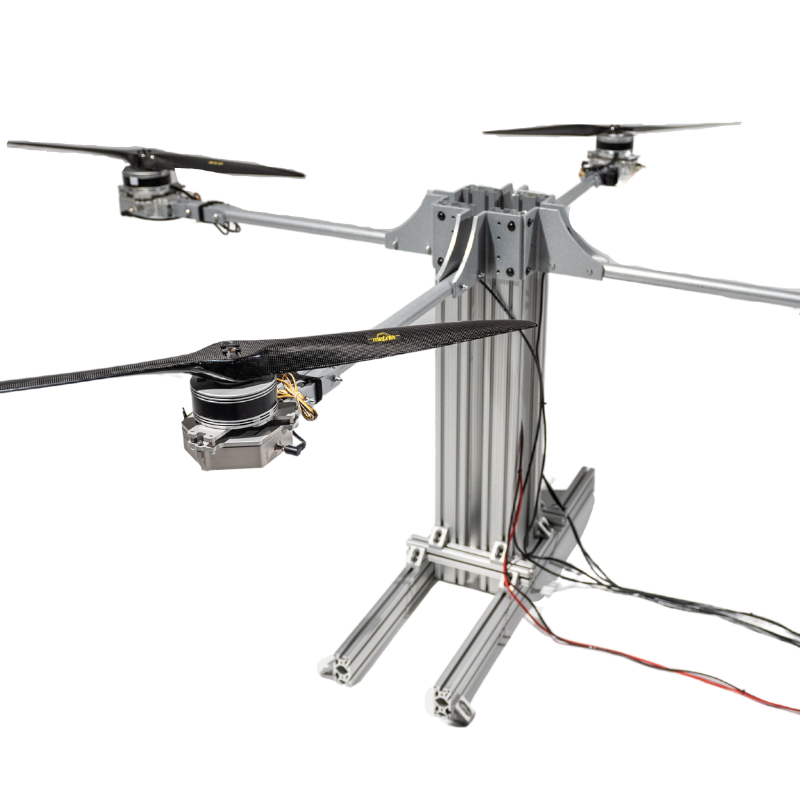
- RCbenchmark Series 1780 Thrust Stand
-This guideline is applicable for both types of mainboard:
- Mono Mainboard (SKU: #RHGQ)
- Dual Mainboard (SKU: #GPDE)
2. What describes your problem?
Please find within the following table which describes your problem. Once selected, mark down the troubleshooting points to follow.

3. Problem specific troubleshooting
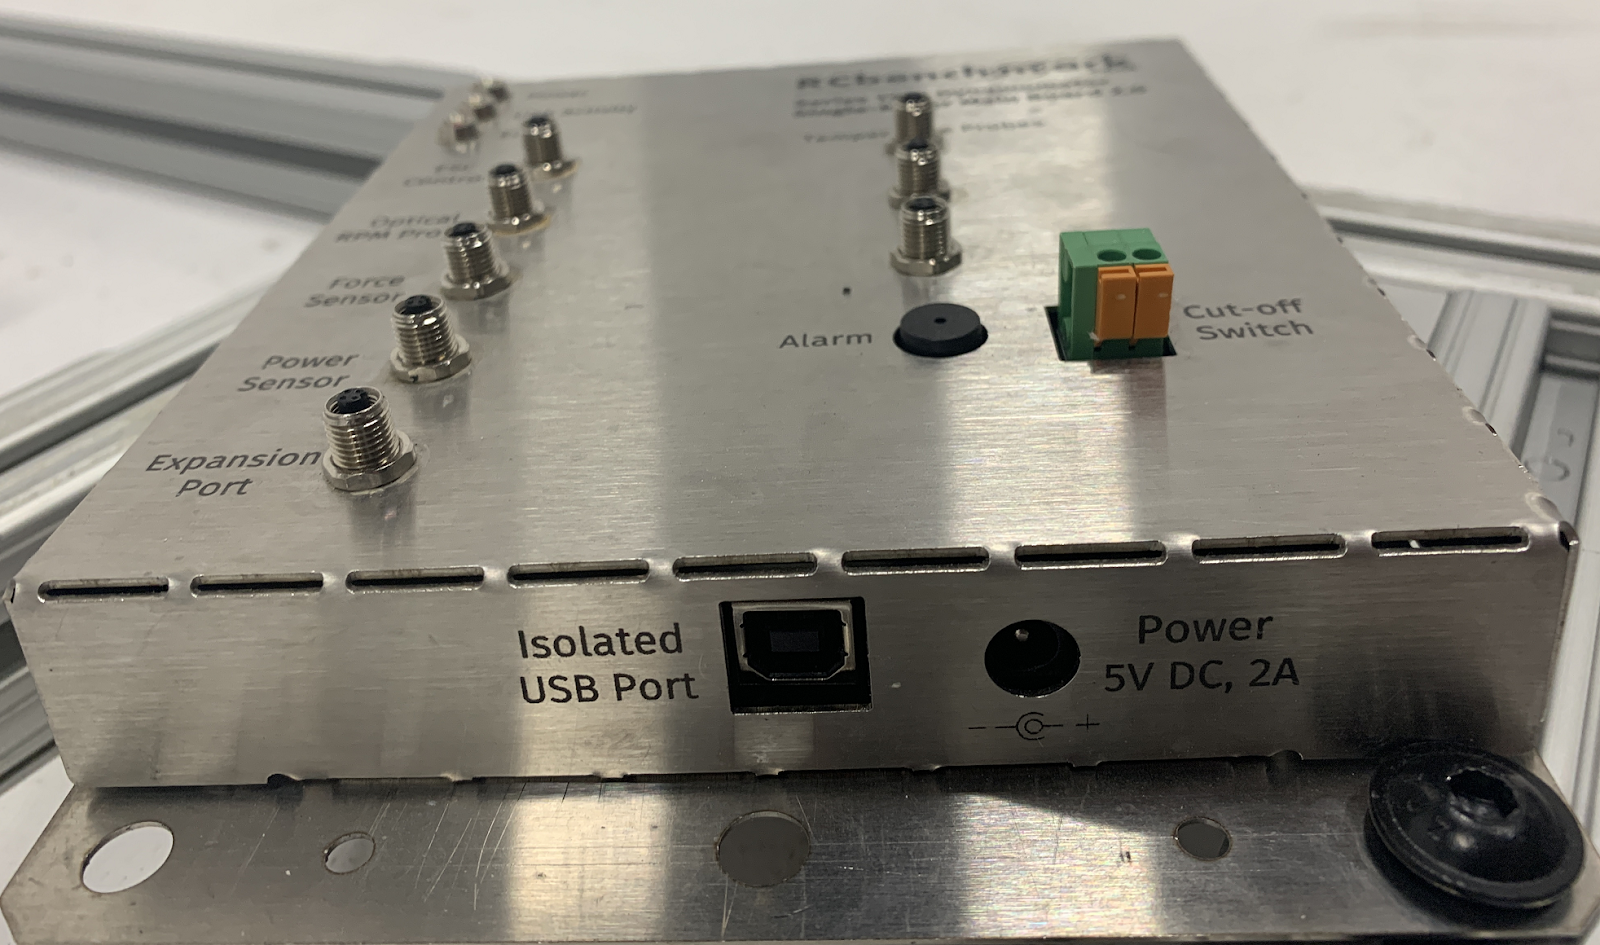
3.1 The USB or power connector on my mainboard is broken.
These two connectors can be damaged if it was pulled or pushed violently when plugged in or out. Use this guideline in case that you observe the USB port being loosen or completely separate from the circuit.
- Disconnect the thrust stand from the power supply.
- When voltage drops below 15 V, approach to the stand and disconnect the mainboard from the power adaptor and the USB cord. Remove the mainboard and take it out from the testing area.
- Inspect the USB port or the power port on the mainboard, if it is still intact with the circuit or within the casing.
- Please take a picture of USB port or the power port in a close view as follow
- Send the picture to support@tytorobotics.com and please include the following info:
- Subject: Mainboard broken connector
- Your shipping address
- Your purchase invoice number or shipment record
- According to the status of the damage, we may offer you spare parts to repair by yourself or offer an RMA to return for repair.
3.2 I plugged the mainboard to my PC but it was not able to connect.
The mainboard shall react to the GUI rapidly and it may lose connection over time due to the USB port, the firmware or other reasons. In case of no reaction from the mainboard, please follow this guideline to troubleshoot
- Please make sure to disconnect the stand from the power source.
- First, please try to disconnect the USB and the power adaptor and plug them back to the mainboard.
- Open the RCbenchmark GUI and check the COM port selection on the left:
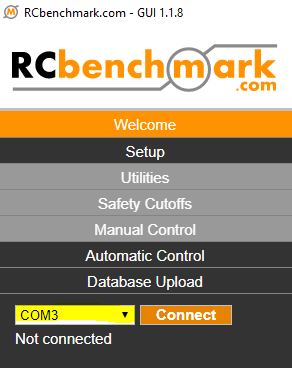
- Try to choose one COM port other than COM1 and click on Connect.
- If connected successfully, you shall be able to see the real-time measurement and Manual Control tab enabled. Troubleshooting finished.
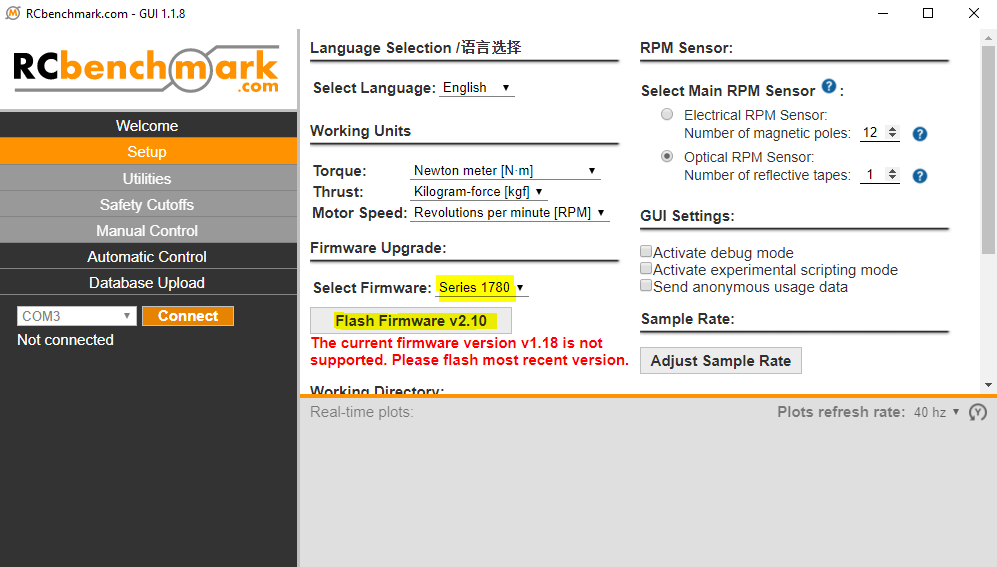
- If not connected successfully, please confirm the firmware version you flashed to the mainboard is the one for the 1780. If you cannot confirm, please flash the firmware again, which can be done at “Setup” -> “Firmware Upgrade” -> button “Flash Firmware”.
- If flashed successfully, now try to connect again with the GUI and see if the measurements were enabled. If connected, troubleshooting finished.
- If it cannot flash the firmware or still cannot connect to the GUI, during the time the GUI is connecting to the mainboard, go and see the instruction LEDs on top of the mainboard to check:
- Power is on (Green light ON)
- USB is flashing (Orange light flashing or not)
- Status of the Error LED
- Try to run the previous troubleshooting step in another computer.
- Go to the Setup tab and check the box “Activate debug mode”. Fully close the GUI and restart.
- Once restart, open the Debug tab and try to click again Connect:

- Copy the whole connectivity report and send it to support@tytorobotics.com, also include the following info:
- Subject: Mainboard unable to connect
- The connectivity report in Debug
- The light status on the mainboard
- Version of mainboard indicated on the metal casing
- If you have ever used the Series 1580 in the SAME computer and with the same account
- Your shipping address
- Your purchase invoice number or shipment record
- According to the damage and the status, we may offer you spare parts for you to repair or offer an RMA to return for repair.
3.3 I have to flash the firmware everytime when I connect the mainboard to the PC.
The mainboard shall only require a flash-firmware every time there is a software update. In case you encounter a situation where you must flash the firmware every time you connect the mainboard to the GUI, use this guideline:
- Make sure to shut off the power source and disconnect the stand from it.
- When the voltage drops below 15 V, approach the mainboard and inspect the light status.
- Try to connect the mainboard to the GUI without reflashing the firmware, click on “Connect” and take some pictures or film a video of all light status during the connection.
- If it still does not connect, please send the pictures or the video to support@tytorobotics.com and include the following info:
- Subject: Mainboard flash firmware all time
- The pictures or the video of the light status
- Your purchase date or the invoice number
- Your shipping address
- The mainboard flashing issue only happens on a certain batch of product. We will offer a reset and change a component by a repair in our facility.
4. Problems persist?
In general, the mainboard is well protected and isolated from the noise. Please handle with care as some of the connectors were vibration-proof thus require a high level of caution when plugging in and off.
We support all issues related to the measurement tools itself, and we can provide limited support regarding your test setup and power-train selection. If you need extended support for your specific tests, manufacturing facility or UAV, contact us at sales@tytorobotics.com. We offer extended support contracts including phone and video conference at affordable rates.
To obtain a solution to your problem faster, please indicate which troubleshooting steps you have already done. Also, include the debug log from the software. If relevant, please also include screenshot or pictures of the issue.
4.1 Cross-reference to other types of problem
- S17LMU: if your mainboard keeps buzzing, it is usually the Load Measurement Unit get overloaded and potentially one or two load cells were damaged. See S17LMU04 for the troubleshooting steps.
- SW1CMG: you may encounter some troubles connecting the mainboard if you use the Series 1580 and the Series 1780 with the SAME computer and the SAME account.
4.2 Cross-reference from other types of problem
- SGGSAR: the limited sampling rate on the Series 1780 is due to the COM port connectivity and status that connects to the mainboard.