


 Back to Blog
This post contains two getting started videos for the RCbenchmark software.
Part 1 - Overview and general use:
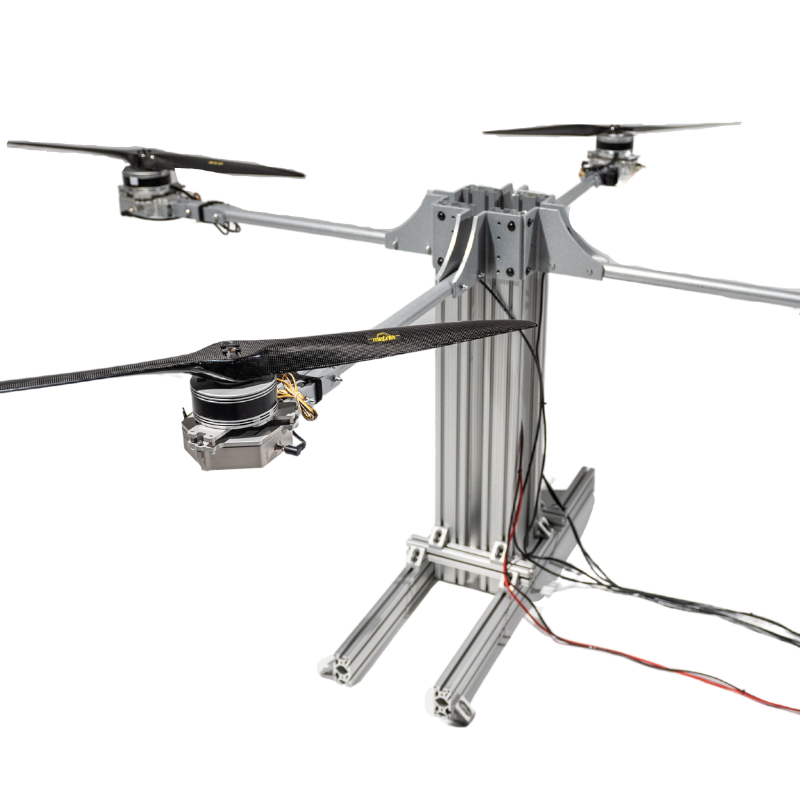
Hi I’m Dominic from RCbenchmark.com. In this video I will go over the software that is included with our dynamometer. We made this video to show you how flexible and easy it is to use our software! This is part 1, where we cover all the software features except the automatic control, which will be covered in part 2. So first, download our software from here. I am using version 0.92.1 of our software. Now I am connecting the dynamometer’s USB cable to my computer. Normally you do not need any special driver for this to work. I see that the software detected two COM ports, but automatically suggested COM3 for me. Without changing anything, I just click connect! The dynamometer now communicates with our software. The interface is divided into four sections: here on the top left we have the navigation tabs, which affect what you see on the top right panel, which is now the Welcome tab. Below it we have real-time plots, showing plots of your sensors. You can select which sensors you want to plot using the checkboxes. Then on the bottom left, we have the control panel. This control panel is always there and you can see sensor values and status information. Let’s go see what is in the setup tab. You can select which units you want to work with, for example if you want to display the thrust in pounds instead of kilograms, this is where you do it. There is a flash firmware button here. Flashing an updated firmware is very simple. The software automatically updates itself. When we release a new firmware, the software will notify you that a new firmware is available and you can click this button. There are no files to download and you will always be sure to have the correct firmware version for your software. Next we have a setting for configuring the number of motor poles you have. This is important if you want the RPM sensor to correctly read the motor rotation speed. To get more information on how to find out your number of motor poles, just click the question mark. If you plan to record data to CSV files, or if you plan to write your own automation scripts, you will need to choose a working directory. Choose any folder in your computer and the program will use this folder. All the settings you configure in the software will be remembered next time you open it. In the utilities tab, there is a button for reading the ohmmeter on the circuit. For this demonstration, I am measuring the coil resistance of a brushless motor attached to my circuit. If you look on the bottom left of the control panel, you see orange text telling you the calibration has never been done. Let me fast foward through the process of calibrating the equipment using the included calibration hardware. To do the calibration, just follow the calibration wizards in this utility tab. That’s it! The circuit’s load sensors are now calibrated to within 1g accuracy. The safety cutoffs tab is quite important. It constantly monitors all sensors from abnormal values, and will automatically cut off the throttle. These limits have two levels, the system limits, which cannot be changed because they are the limits imposed by our hardware, and the user limits, which you can change to any value suitable to your specific application. A common application is to limit current, in order to protect your motor and ESC. I am setting the maximum motor speed to 2000 RPM. Now let’s go to the manual control tab. The sliders on the left directly control the outputs signals to the ESC and servo connectors. To demonstrate, I already installed a motor, propeller, and battery on the dynamometer. If you want details on this installation process, please check our other videos linked below where we film the installation of the hardware. To start the motor, first we activate the ESC signal, and we move the slider up to start the motor. You can fine-control the signal using the keyboard up and down arrows to 1us precision. The other 3 sliders are to control optional servo motors. For example, you may want to control a variable pitch propeller or you have a swashplate for an helicopter. Now I will show you the safety cutoffs in action. Remember we set the maximum RPM to 2000. Let’s activate the RPM plot to see what is going on and let’s gradually increase the throttle. BOOM the cutoff activated. To restart, you just need to uncheck and recheck the slider. Before you run experiments, you will want to Tare the load cells. It works the same way as the zero button on a kitchen scale. Pressing the tare button will zero your torque and thurst readings. Ok, now we want to record data for our test. One thing we can do is use the “take sample” button. This recorded 3 lines of data in a CSV file. To create another file, just press the “New log” button. Pressing “take sample” again will record in another file. Sometimes you may want to record as much data as possible for dynamic tests. You can do this by checking the continous recording button. Your data file will grow very fast with a lot of information! That sums up all the main features of our software, except for the automatic control. If you are interested in automating your experiments for repeatable and consistent results, please follow the link below for part 2 of this video. Thank you for watching.
Part 2 - Automatic control:
Hi I’m Dominic from rcbenchmark.com. In part 1 linked below, we covered all the software features except the automatic control. If you want to automate your experiments and get repeatable, consistent results and save time testing the same things over and over, this video is for you! Let’s start by connecting the dynamometer. Next we go to the automatic control tab. We see a warning reminding us of safety measures. To activate scripting mode, just go to the setup tab, check the scripting mode option, answer yes, and go back to the automatic control tab. You will only need to do this the first time. Ok, let’s hide the plots for now to have more space. We are greeted with a super simple starting script. This script has two lines of code. The first one will print something on the console and the second will stop the script. Let’s run this script by pressing the “run” button. To start the script, just press the “start” button. We see the script’s output in the console. This simple script runs fine, but it doesn’t do anything useful. Let’s go back to the script editor by pressing ‘return”, and let’s instead pick one of the stock scripts available. I am choosing the “sweep discrete” script, which is the one you will likely use the most. The software preloaded this script for us and any code in green is a comment. If you read the comments, you will understand what this script does. But now, let’s just run the script and see what it does. So I press the start button, and… let’s watch. Cool huh! The software automatically controlled the throttle in a number of discrete steps for you. We also see that a file was generated automatically by the script. If you look inside the file, you see that the script increased the throttle in four steps, then decreased the throttle back in four other steps. At each step, a data sample was recorded. Awesome! But let’s say I wanted to do more steps or change other test parameters. Well it is easy and you don’t need to understand the code. Go back to the script editor, and click the “Clone” button to make your own copy. If you look at the beginning of the code, there is a section called “User Defined Variables”. Remember how the script made four steps? This is defined here. So let’s change it to 10. And let’s assume we just want the steps to go up and the script to stop right after. We just change the stepsGoDown variable to false. And now you can run the modified script. Let’s go back and save this modified script, so you can reuse it later. Just type in a filename here such as “My script” and press enter. Just like that you have your own script saved in your working directory. Scripts are just javascript files and can be edited externally using any text editor. Now that your script is saved, it now appears in the list of available scripts. You can edit the script again and your changes are automatically saved back into the file. To delete your custom script, just delete the file and it should disappear from the list. Now you have all the tools you need to run some tests automatically. We will add more scripts in the future, and you can automate most of your tasks without learning any code. If you want to get started with your own custom scripts, you can first get familiar with the code in the available scripts, and you can read the API documentation. To see the documentation, just click on the RCB link here. This opens a website with our documentation. For example, here I can see how to use the console print function we saw before. To help you understand, we added many example codes throughout the documentation. You can then copy/paste these examples in your empty script editor to see them in action. Here I am copying an animation example that illustrates how powerful console print functions are. Once pasted, you can run this example script. Analysing and modifying example codes is a great way to learn and get started with custom scripts. Plus, you will learn standard javascript code. Thank you for your interest in our product, we hope you will find the automatic control features very useful. Please don’t forget to visit the Tutorials section on our website for more videos. Thank you for watching.